Red shield emblem with a gold star and glowing red highlight

Radon Services

Protecting Your Home from Radon Is Simple

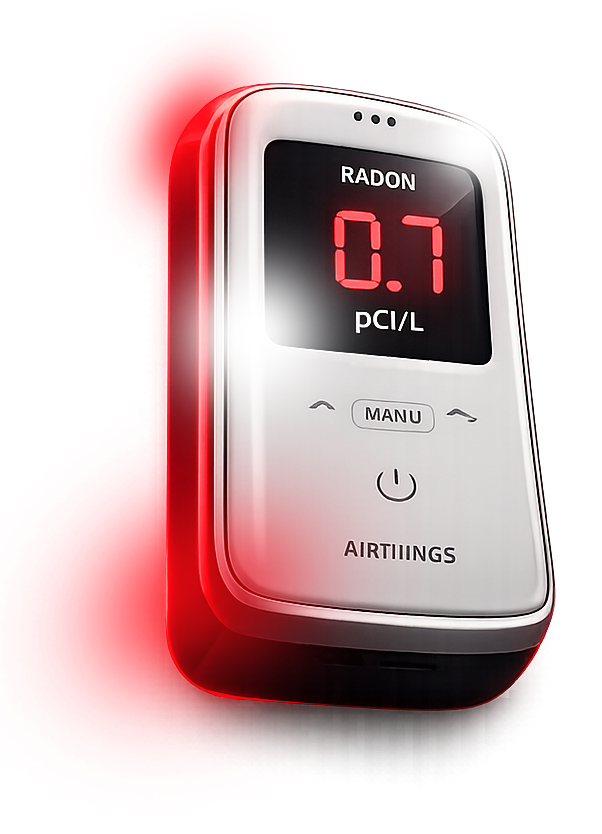
White Radon air quality monitor showing 0.7 pCi/L with a red glow on a white background

At Utah Radon Defense, we make the radon mitigation process straightforward and stress-free. From your initial consultation to final system verification, our NRPP-certified professionals guide you every step of the way to ensure your home remains safe for years to come.

Step 1: Schedule Your Consultation

Every project begins with a conversation. Whether you've received elevated radon test results, are purchasing a home, building a new one, or simply want peace of mind, we'll help determine the right solution for your property.


During your consultation, we'll:

Check Icon

Learn about your home and concerns

Check Icon

Review any existing radon test results

Check Icon

Recommend the best next steps

Check Icon

Answer any questions about the process

Step 2: Conduct a Professional Assessment

Our team performs a thorough assessment of your home to identify how radon is entering the property and determine the most effective mitigation approach.


We'll evaluate:

Check Icon

Foundation type

Check Icon

Existing radon levels

Check Icon

Home layout and construction

Check Icon

Ventilation opportunities

Check Icon

System placement for optimal performance

Every home is different, which is why every mitigation system is custom designed.

Step 3: Custom System Design

Using the assessment results, we design a radon mitigation system specifically for your home.


Your system is engineered to:

Check Icon

Effectively reduce indoor radon levels

Check Icon

Blend with your home's appearance

Check Icon

Operate quietly and efficiently

Check Icon

Deliver long-term performance

Step 4: Professional Installation

Our certified technicians install your mitigation system using industry best practices and quality materials.


During installation, we:

Check Icon

Install the mitigation piping system

Check Icon

Mount the radon fan in the optimal location

Check Icon

Seal appropriate foundation openings

Check Icon

Route exhaust safely above the roofline

Check Icon

Test the system to ensure proper operation

Most installations are completed efficiently with minimal disruption to your home.

Step 5: Post-Installation Testing & Verification

After installation, we verify that your new mitigation system is operating properly and effectively reducing your home's radon levels.


We perform post-installation testing to:

Check Icon

Confirm the system is functioning correctly

Check Icon

Verify reduced radon levels

Check Icon

Ensure the system meets performance expectations

Check Icon

Provide confidence that your home is protected

Step 6: Long-Term Protection

Our commitment doesn't end after installation.


Utah Radon Defense stands behind every system with industry-leading workmanship, ongoing support, and long-term protection to help keep your family safe for years to come.


For homeowners looking for continuous peace of mind, ask us about our Shield Membership, which provides ongoing system monitoring, inspections, and priority service.

Why Choose Utah Radon Defense?

Check Icon

NRPP Certified Professionals

Check Icon

Over 35 Years of Experience

Check Icon

4,000+ Radon Systems Installed

Check Icon

Custom-Designed Mitigation Systems

Check Icon

Low-Level Performance Guarantee

Check Icon

Lifetime Transferable Warranty

Check Icon

Trusted by Utah Homeowners Since 1985

Ready to Get Started?

Whether you need professional radon testing, a custom mitigation system, or ongoing system monitoring, our team is here to help.